Saturday, December 31, 2011

some Christmas presents and a New Year's Resolution

Sorry I've been mia the last little while... I've been pretty sick the lat few weeks, and I was busy finishing last minute Christmas orders, plus all the Christmas festivities!  But I wanted to share a little of our Christmas and get ready for the new year.

So here are a few of the Christmas presents I actually managed to get finished in time:

Meet Mike Wazowski!  My little boy is in love with most Pixar movies, but especially Monsters Inc.  (I think he thinks Sully is a big dog.  And he loves dogs.)  So I made him this little guy for Christmas!  He's given him hugs many times now, and tried to pull his mouth off a few times.  I think it's a success.  

I'm really proud of how the eye turned out - I drew it on by hand with fabric markers.  It may not seem that impressive to most of you, but I'm terrible at drawing, so any time I "draw" something that looks good, I feel a little better about myself.  :) 

And this pillow was for my sister.  She's in love with The Princess and the Frog.  Don't worry - she's in college.  She's cool like that.  ;)


Some day I'll finish the five or six others that being sick - and being me - prevented me from finishing.
Like these dinosaur slippers that I got all cut out but never sewn... Or the pirate quiet book I started in October that is going to be super awesome!  Soon.  Hopefully.


Now for some good news and a New Year's resolution!  The blog passed 1,000 views right about Christmas!  Even in spite of my not posting much recently! 

So here's my resolution:  to post more regularly.  

My original goal was to post a tutorial every Monday, and 1-2 other posts the rest of the week. I'd really like to do that, but I'm not sure if it will happen.  But I will resolve to post at least once a week from here on out to keep building up my viewership and (I hope!) providing you readers with some fun and useful posts.

Happy New Year everyone!


Monday, December 12, 2011

flannel hand warmers

So I had this great idea where I was going to do a 12 days of Christmas thing, and call it the "12 Crafts of Christmas," with tutorials and ideas for fun Christmas crafts that went with the number for each day.  You know, 3 wise men for day 3, something with a 5 pointed star for day 5, etc.  Great idea, right?!  But life has a way of catching up to you, and, well, that idea is going to have to wait until at least next Christmas.

Instead, I decided I'd just blog about some of the Christmas presents I'm making for my family members.

So today's is a present I made for my younger sister who is currently serving a mission for our church in St Paul, Minnesota.  And since it's freezing there, I decided to make her a little something to help her stay warm while walking around the city.

(Please ignore how wrinkly my hand looks in these pictures... it was the way I was holding the hand warmers.  Or at least that's what I'm telling myself.)


Not only are these little hand warmers super cute, and very useful, but they were also really easy to make!
But if you don't feel like making them yourself, check out my shop where I've got them for sale.


Here's what you'll need:

Flannel in any color/pattern (you only need about a 6" square for a pair of hand warmers)
Coordinating thread
Pencil or fabric marker
Rice (about 2-3 Tbsp per hand warmer)
Pinking shears
Sewing machine
Needle


1. Find or draw a heart shape approximately 3" x 3" (I just drew/cut mine on a piece of paper.  But a cookie cutter or stencil would work well too.

2. Trace 4 hearts onto the fabric.

3. Cut out with pinking shears.  (Regular scissors are fine, but the pinking shears help keep the edges from fraying.  So if you use regular scissors, you might want to use fray check or something on the edges.  Or if you're awesome and have a serger, just use that.)

4. With wrong sides together, stitch around the edge of the heart, leaving at least 1" open to fill with rice.

5. Fill with 2-3 Tbsp. of rice

6. Hand stitch the heart closed the rest of the way.

7. Warm it up in the microwave for about 30 seconds, and keep your hands warm for about 30 minutes!


You can use other fabrics besides flannel, but I like to use flannel because it's soft, fairly durable, and holds the warmth pretty well.  

Another bonus about these hand warmers?  They would make great stocking stuffers!  They're the perfect size to stick in a stocking.  And if the heart's a little too girly, any shape will work.

Wednesday, December 7, 2011

festival of trees

For the past several years I have gone with my mom to the Festival of Trees in Salt Lake City.  If you live in Utah and haven't been, you should definitely go next year!  There are literally hundreds of trees - some small, some huge, and they are all beautifully decorated.  And what's even more amazing is that every single one was donated.  They are then auctioned off, and all proceeds go to Primary Children's Hospital. Ticket and food sales go to Primary Children's as well.  So if nothing else, go to support that.

But if you love Christmas, and are looking for some fun decorating ideas, go check to see all of the amazing trees!  There are a lot of kind of Christmas standards - lots of Santas and snowmen and candy canes.  But there are always some that are a bit more "creative" - like Harry Potter themed, BYU themed, or even Wizard of Oz.

Here are a few of my favorites from last year and this year:

This was a craft themed tree for all my crafty friends out there!  It's got measuring tape for ribbon, scissors, pin cushions, fabric ornaments, etc.  So fun!

I just thought this tree was really pretty with soft shades of gold and vintage inspired ornaments and Santa.

(They also had quilts and other crafts there) This quilt is an advent calendar!  What a fantastic idea!  Now if only I could quilt...

A neon tree donated by... The Neon Trees!  Seriously.  Pretty great.

How awesome is this?!  It's a whole row of Christmas trees curved to look like a wave, with a surfing Santa!!  Definitely one of the most original, coolest displays I've seen at the festival.

This tree was absolutely beautiful.  All of the nativity ornaments were hand painted.

Just loved the turquoise and gold with musical instruments.

This one's for all my fellow White Collar fans!  I may or may not have a crush on Neal Caffrey... don't tell my husband.

There's always at least one upside down tree.  I thought this one was super cute with the dog on top, and all the dog treat ornaments and such.  And my little guy really wanted to climb in there and hug all the stuffed dogs.  He's kind of obsessed with dogs.

And probably one of my all-time favorites: The UP tree!  Complete with mailbox, paradise falls jar, explorer goggles, Kevin, Doug, and of course - the house and balloons on top of the tree!  So great!


Well, there you have it.  If you can believe it, I had to seriously cut down on all of the pictures I wanted to post because there were so many amazing trees!  But I figured I'd share some of the more original ones - things you might be less inclined to actually put in your home, but that are so much fun!

My goal is to be able to decorate and donate a tree myself for next year!  Any great ideas?  


Monday, December 5, 2011

snowball garland

Here's a really simple Christmas/winter decoration that you can make in about 10 minutes!

We don't have a fireplace, so I was trying to figure out how and where to hang our stockings this year, when I decided to make this little garland to hold our stockings.


What you'll need:
Fishing line
White pom-poms in at least 2 sizes (I used 3/4" and 10 mm)
Scissors
Needle


1. Measure out the length of fishing line you'll need for wherever you're planning to hang your garland.  If you want it to drape, be sure to add several inches extra.  (It's better to err on the side of it being too long.  It's really easy to just slide the pom-poms down and cut off the extra line later if you need to.)

2. Tie a knot at one end of the line.

3. Thread the needle on the other end, and then start skewering the pom-poms!  I tried to mix it up, and not just do big, small, big, small.  Sometimes I was really crazy and did two of the same size in a row!  Just to keep things from getting too boring.

4. When you think you have enough pom-poms, spread out the fishing line and then space out your "snowballs" how you think you want them.


I tried not to space them too evenly, again so it wouldn't look super rigid and boring.  If you think you need a few more, keep threading pom-poms.  If you have too many, take a few off!  

5. Tie a knot at the other end, and you're done!  See what I mean about easy?  Now just hang it up and enjoy!  (If you're lazy like me, you can even just use some clear tape to hang it.  Or you can make loops at either end, and use nails.)  


If you're planning to hang your stockings on the garland, you can either just "thread" them on, or you can make separate loops of fishing line to tie on.

Another fun idea for a garland like this would be to add some paper snowflakes!  I just might have to add some to mine... 

I kind of have a thing for making paper snowflakes.


Friday, December 2, 2011

nativity finger puppet set

It's officially Christmas season!  Which means that most of my posts for the rest of the month will be about Christmas - Christmas crafts, activities, products, presents, and fun!

One of my favorite Christmas projects I've done lately is this Christmas nativity finger puppet set.

 "And the angel said unto them, Fear not: for, behold, I bring you good tidings of great joy, which shall be to all people.  
And this shall be a sign unto you; Ye shall find the babe wrapped in swaddling clothes, lying in a manger.
For unto you is born this day in the city of David a Saviour, which is Christ the Lord."
Luke 2: 10-12


I made the original for my son for one of his Christmas presents, and then decided to list it in my shop as well.  It's been my best selling product so far!

One of my favorite things about this set is how the stable is also the pouch to hold all the puppets.  Cute and functional!


(Ignore the goopy glue around the magnet here... don't worry, I'm not selling this one.  It was my first attempt and got a little messy!)

These puppets are so fun to make, and a really fun way to tell the nativity story with kids.


"Now when Jesus was born in Bethlehem of Judæa in the days of Herod the king, behold, there came wise men from the east to Jerusalem,
Saying, Where is he that is born King of the Jews? for we have seen his star in the east, and are come to worship him."
Matthew 2: 1-2
I think the wise men puppets are my favorite.  Don't tell the others.  Maybe it's the bright colors.  Or the glitter.  :)

"And she brought forth her firstborn son, and wrapped him in swaddling clothes, and laid him in a manger; because there was no room for them in the inn."
Luke 2: 7


Tuesday, November 29, 2011

upcycle an old sweatshirt - the final chapter

I finally finished the last new piece from my old sweatshirt!  The second slipper.  (Because what good is one slipper?)

Now that I'm done, what's left of my sweatshirt looks like it should be an old mop or something.


But the hat, mittens, and slippers are all great!  Check out my previous posts to find out how to make the hat or the mittens too.

I have to be honest and tell you up front that I'm still working out some of the bugs on the slipper pattern.  But they do fit, and they are wearable, and cute!  Just a few little glitches that I'm trying to fix.

What you'll need:

An old sweatshirt (or part of it)  (you could also just buy some fleece)
Coordinating thread
Fabric paint/ puff paint
Fabric markers (if you want to make the doggie face)
Paper and tracing paper/vellum to make the pattern pieces

Scissors
Sewing machine
Needle

1. First you'll need to trace the feet of person you're making the slippers for.

(My little monster didn't really like this part.  He doesn't really get the concept of sitting still.  So good luck!)

2. Use tracing paper/vellum to draw the two feet overlapped one on top of the other, then smooth out the shape - this will give you a more rounded shape so the slippers can be worn on either foot.

That's the inner-most line in the picture below.


3.  I wanted the slippers to be a little big so he'd have room to grow into them, so I made another line about 1/2" bigger all the way around.  Then I made the final outer line 1/2" from that one to allow for the seams.  That is the size of the final pattern piece for the sole of the slipper.

4.  Measure the length of the final pattern piece.  This measurement will be used as a base line (x) for determining the rest of the slipper measurements.  For my slipper, x = 6"

5. Next you need to make the pattern for the upper part of the slipper.
This is where it gets a little tricky and requires a little math (and a calculator if you're horrible at math like I am.)

The bottom part, where it will attach to the sole, is x + 1/2".  (So mine was 6 + 1/2" = 6.5")
The toe comes up about 1/2" no matter what size you're making (unless it's for an adult.  then you might want it a little bigger.)
The longest side, the part that goes up over the ankle, is 1.15x (Mine: 1.15 x 6 = 7")
The top, which will be the opening to put the foot in,  is 0.75x  (Mine 0.75 x 6 = 4.5")
Then come down the other side 0.75x (Mine 0.75 x 6 = 4.5")
Then just draw a diagonal line connecting from the toe to the last line.

And now the math is done!  

6.  Cut out your pieces!  I cut out two of the sole for each slipper just for added padding and durability.  You'll need two of the upper pieces for each slipper as well.


Hint: Cut out the upper pieces so that the stretch of the fabric goes in the direction of the length of the foot.  Then it will stretch better putting the slippers on and off.

For the next several steps, I'm only giving instructions for one slipper.  So don't get confused!  And don't forget to repeat and make the second slipper!  (Like I did for about a month... oops!)

7. Pin both sole pieces together, right side facing wrong side, so the soft fuzzy side will be on the inside of the slipper, and the "right" side will be on the bottom of the slipper.


8. Stitch the sole pieces together around the outside edge.


9. For each of the upper pieces of the slipper, fold the top down to meet the corner where the diagonal line begins.  This will make the finished "cuff" at the top.  Stitch it in place.

*If you want to add elastic, you can make a casing for it just above this stitch line.  This is where things got a bit tricky for me, and I'm still working on the best way to do this.  I tried a few things, and didn't love the way either of them worked, so when I come up with a really good way, I'll come edit this post!  Both ways technically worked... but were kind of a pain.  And I'm lazy.  So I'm working on the easiest way!

10. Pin right sides together of upper section of slipper, and stitch down both sides, leaving the top and bottom open.


11. With right sides together, pin the top portion to the sole of the slipper.  

I like to start with a pin at the toe and heel, and then kind of ease the rest in.  That tends to work best for the curves of the pieces.

12.  Stitch them together, and turn the slipper right side out!  


Technically, the slipper is done at this point!


13.  But, if you have exposed seams that bug you

Just use some cute bias tape to cover them up.  (I'm lazy and didn't really care.  Plus, these are just for my little man to wear around the house, and will probably be tucked up under his pant legs anyway.)  This is the other problem I'm working out with this pattern... 

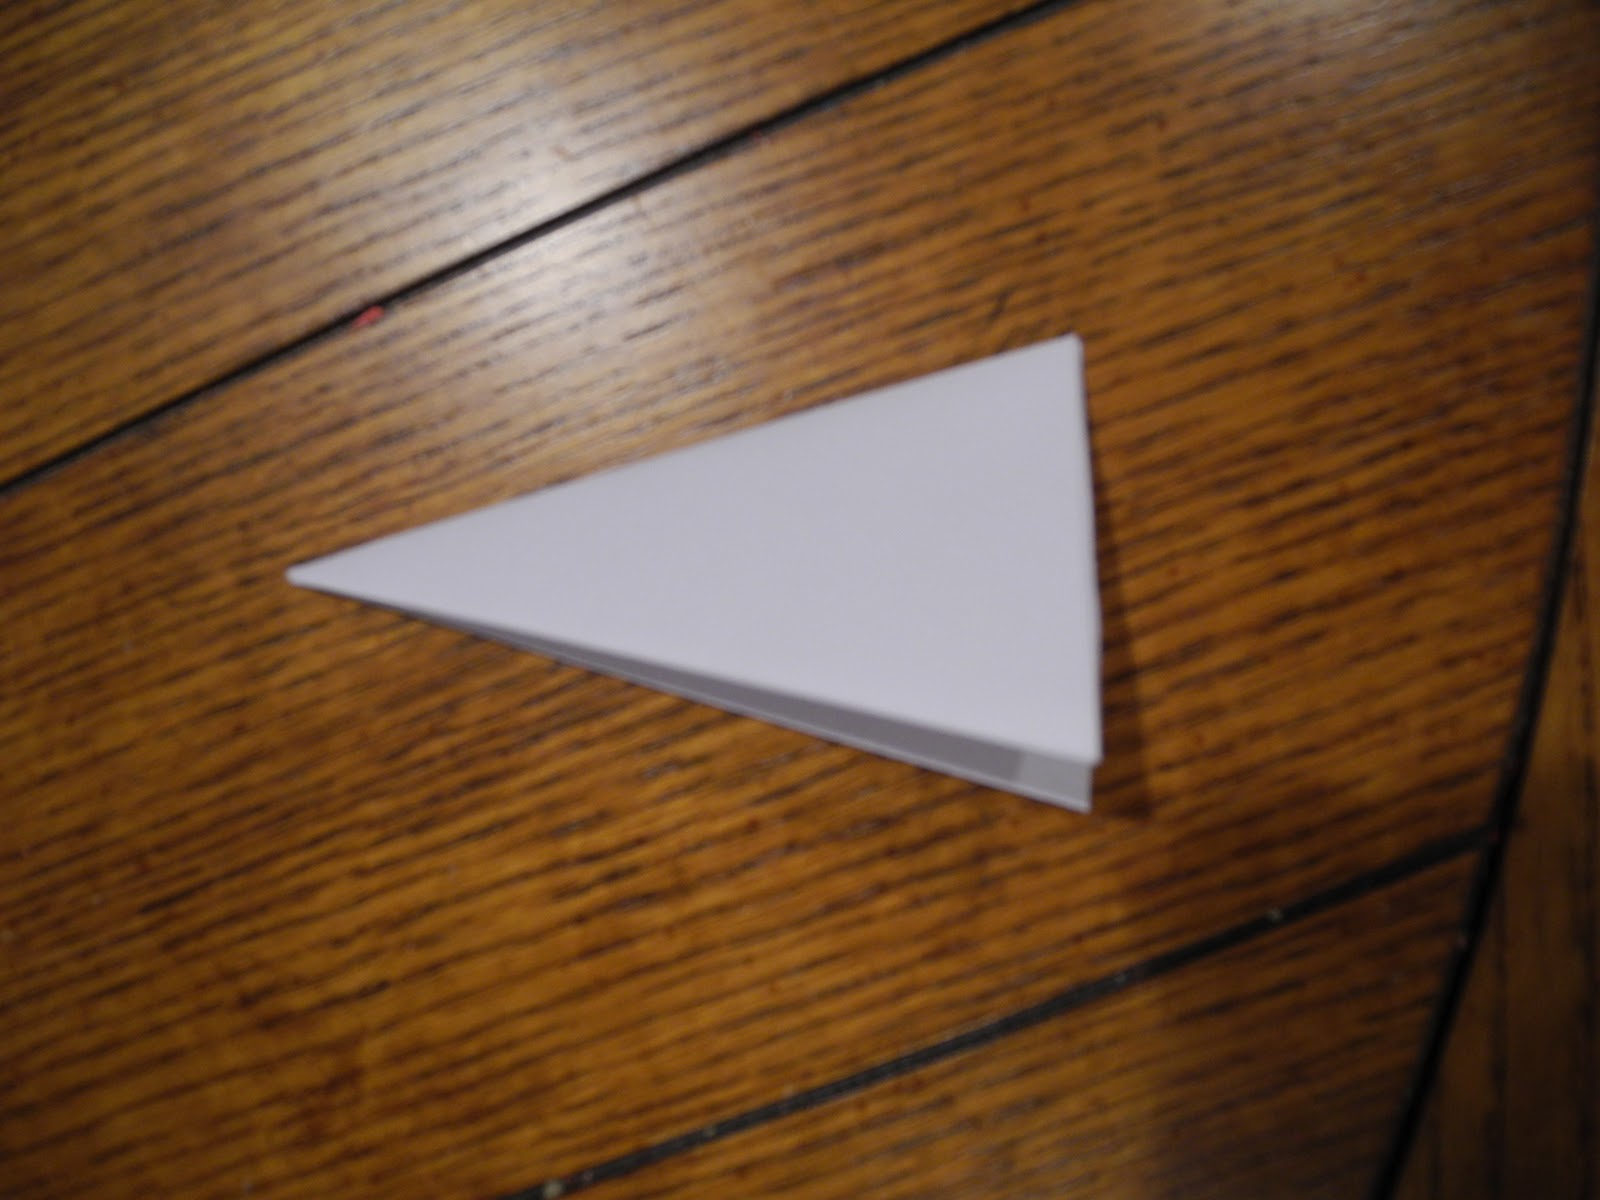
14.  And if you want to make them look like little doggies, cut out four kind of rounded triangle pieces (for each slipper) for the ears.


15.  With right sides together, stitch them together around the edges, leaving the top open.  Turn them right side out.

*I actually did these wrong side out, because I liked the look of the slight contrast in the fabric.

16.  Hand stitch the tops of each ear shut, then stitch them in place on the slipper.

17.  Use a fabric marker to draw on a little nose and eyes.


18.  And to make the slippers have a little "tread," use the puff paint to make squiqqle lines, or any pattern you like, on the bottom.  It will keep them from slipping on slick floors!


19.  Repeat steps 7 - 18 for the other slipper, and you're done!


Now your little one will have warm little toes and look quite cute!  :)


Friday, November 25, 2011

Don't forget!

I hope you all had a wonderful Thanksgiving!  And haven't worn yourselves out with too much Black Friday shopping yet.  I just wanted to remind everyone about my Black Friday Sale!  All ornaments are 10% off today!

Here's a few of my favorites:

Snowman and penguin ornament - I love these little guys.  They just make me smile.  :)


And of course the reason for Christmas - the baby Jesus with the new star against the Bethlehem skyline.

The ornaments are all handmade and beautifully detailed.  To see more ornaments, go visit my shop, and spread the word on the sale!


Wednesday, November 23, 2011

A Thanksgiving Craft

I hope you're all getting excited for some deliciousness tomorrow!  I know I am.

So in the spirit of Thanksgiving, I have a fun little Thanksgiving/fall inspired craft.  They're Thanksgiving snowflakes!  Like the paper snowflakes you might make for winter or Christmas, but fall and Thanksgiving themed.


This fun leaf snowflake came from a book called Snowflakes for All Seasons, by Cindy Higham.  


But these other two came from me!  Which means you get a free printable pattern for them!  And step-by-step instructions to help you make them.

A quick tip:  I cut these ones out of construction paper because I wanted them to be on colored paper.  I don't really recommend construction paper because it's thick and harder to cut through all those layers.  But if you have patience and really good scissors (I have neither) construction paper will work.

Another tip:  Run your thumb nail over the crease after each fold to make it nice and tight.

For each snowflake you will need:
An 8.5" x 8.5" square paper
Scissors
The pattern

Step 1:
Fold your square in half into a triangle


Step 2:
Fold it in half again, into a smaller triangle

Step 3:
Fold it in thirds, so the two sides overlap

Step 4:
Cut off the little pieces that stick out over the bottom

Step 5:
Trace the pattern onto the triangle.  Now you're ready to cut!!


And here's your pattern!  Just click on the image below, then save/download it.  Then you can just print it and you're ready to go!

Happy Thanksgiving!